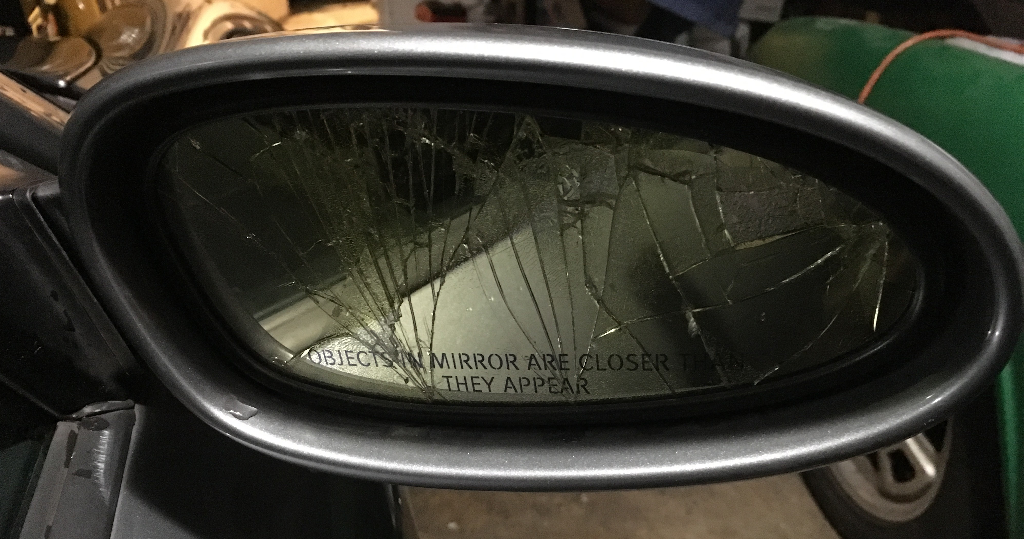
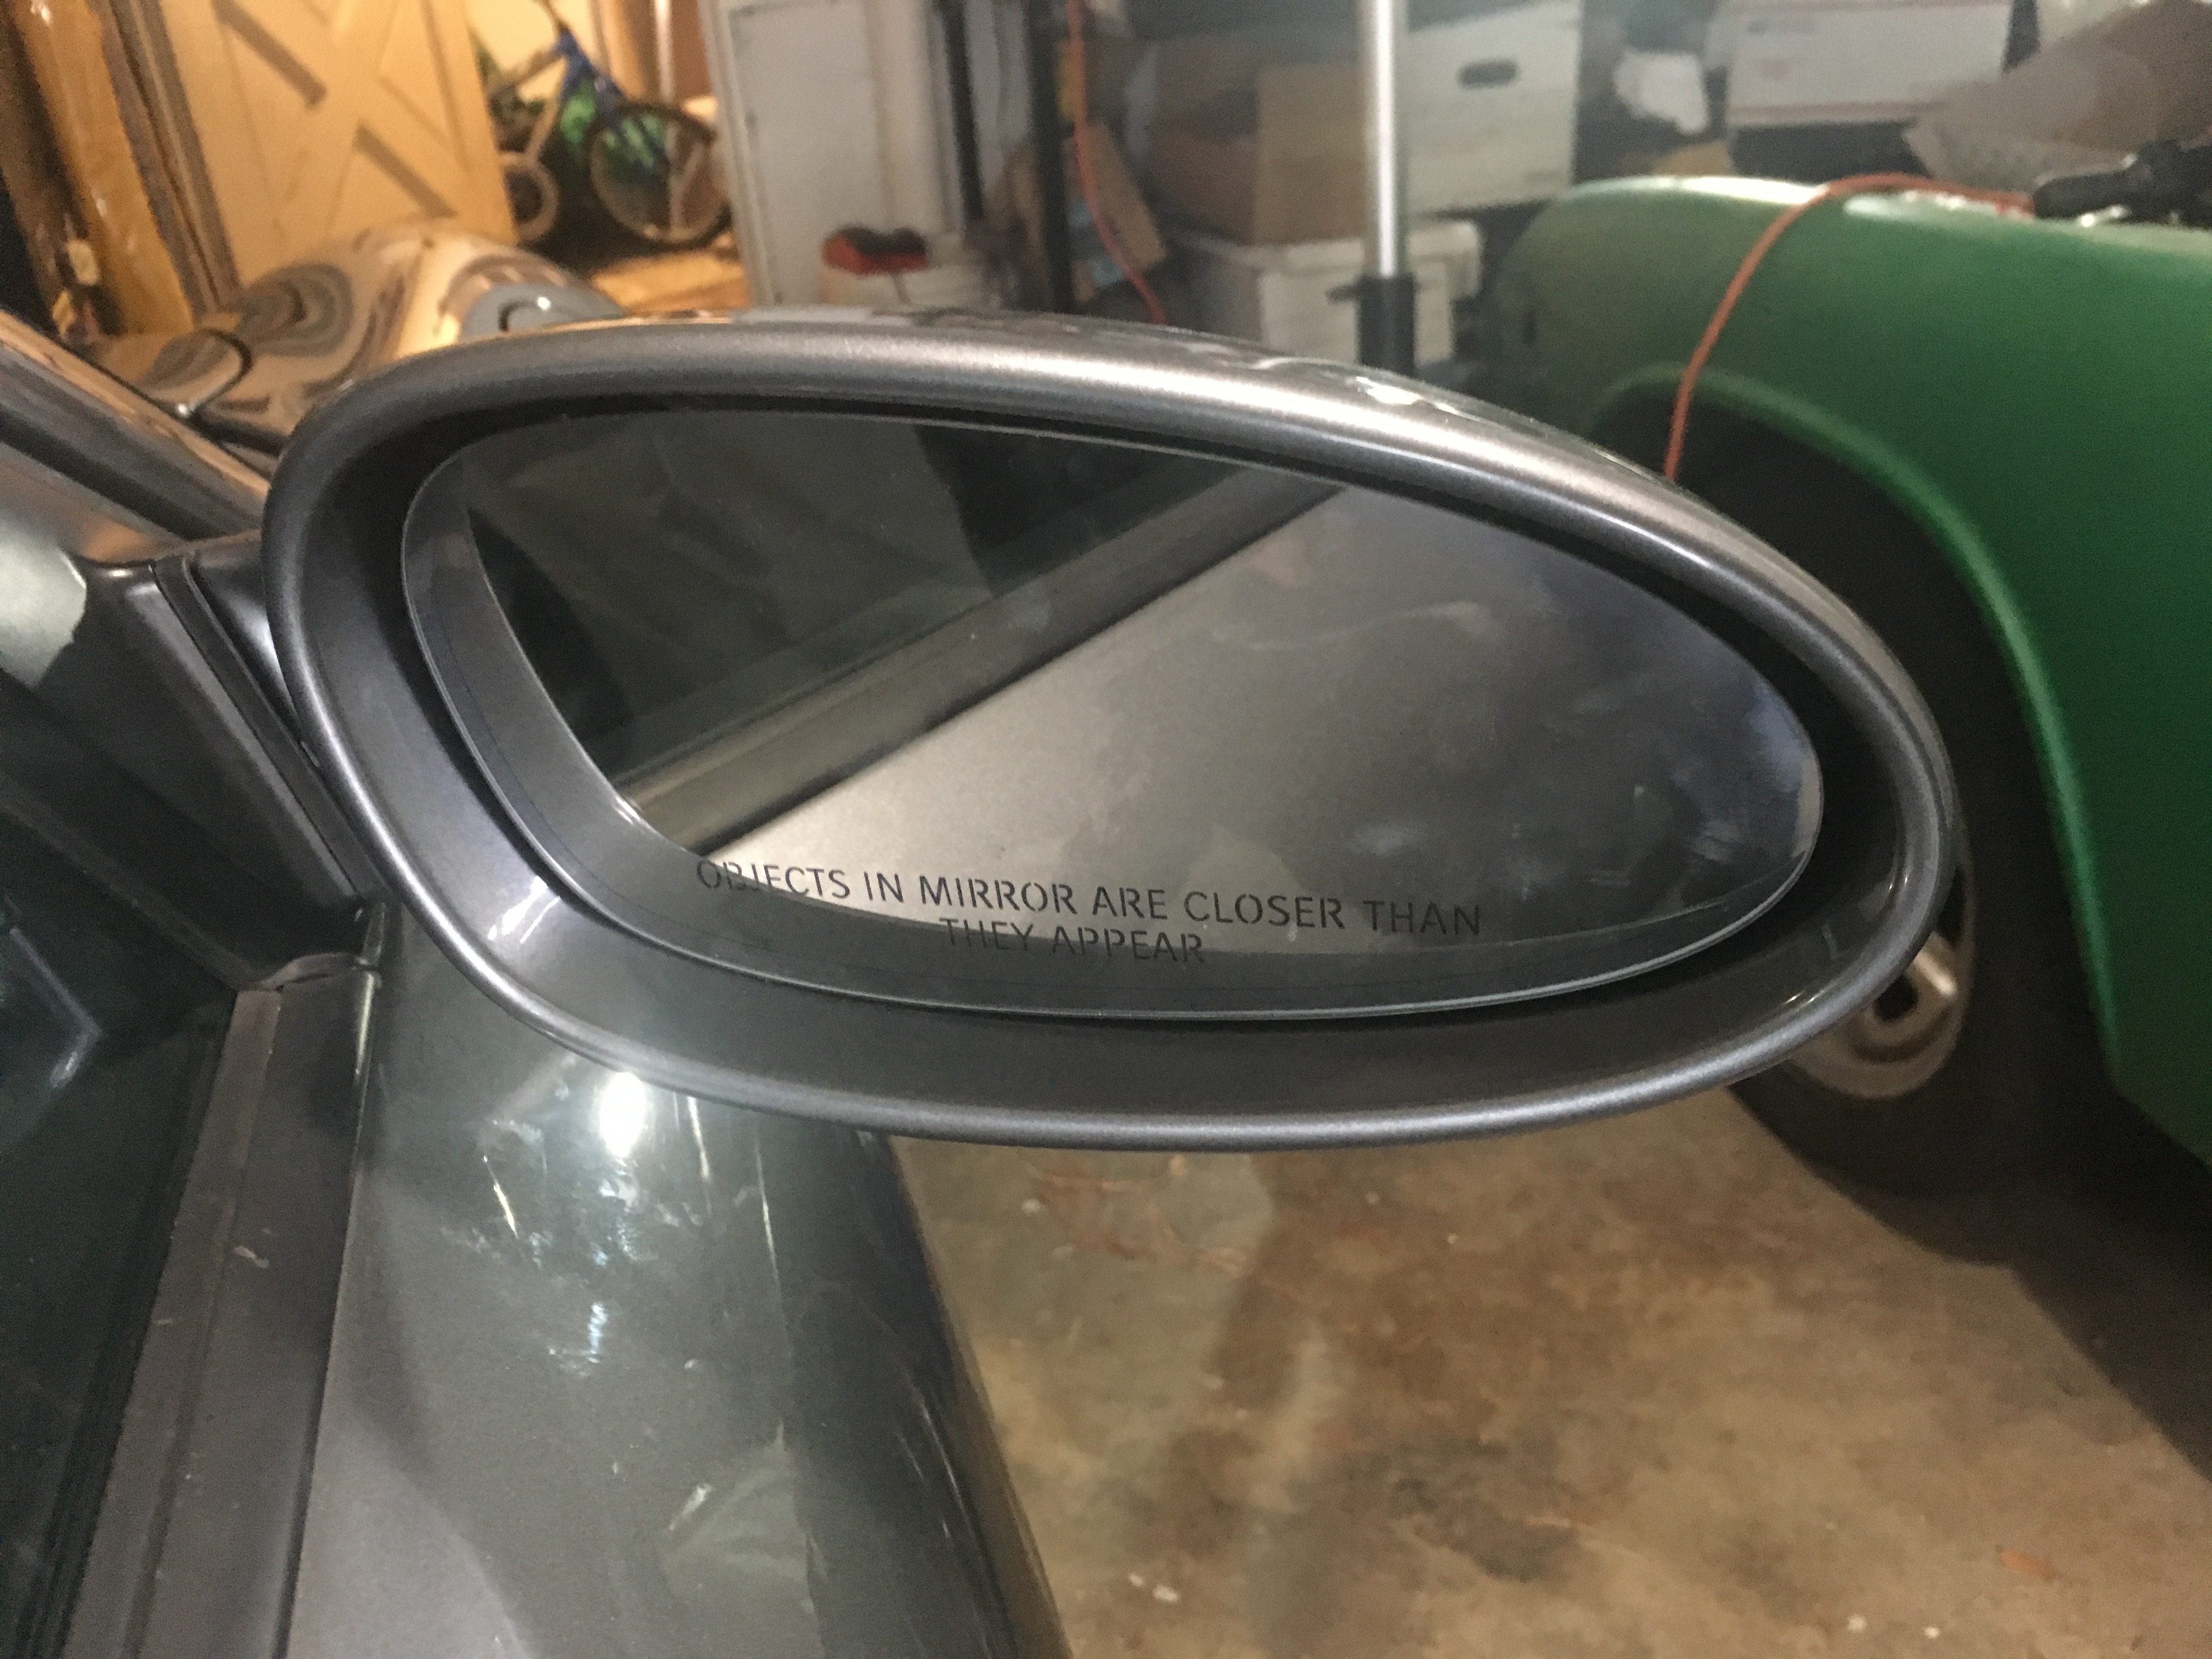
While traveling home on one of the many narrow roads home, I had to dodge oncoming traffic. Whacking the passenger side mirror against a trash bin resulted in the damage seen above. The mirror housing swung as expected upon its hinges. This time, though, the velocity and force were such that the mirror popped out of its housing and shattered. This is certainly a less than ideal situation that needed a remedy as soon as possible.
A quick examination of the side mirror gave me an idea of the damage. The clear guard had done its job and the plastic housing and paint appeared undamaged. The mirror would pop back into place and the motor still functioned. It seemed I just needed a mirror. A few hours of searching later, I went as cheap a route as I could stomach and bought a used side mirror assembly from eBay for $150. About $30 than just the mirror, but I received a mirror, motor, all the mounting hardware, and plastic shell. The extra bits available in case after I disassembled the side mirror I discovered more damage. The only bit I didn’t notice was that the shell was a different shade of gray than my car. Seriously, German automotive manufacturers need to stop fearing color and get away from the monochromatic paint shop. But I digress…
Repairing
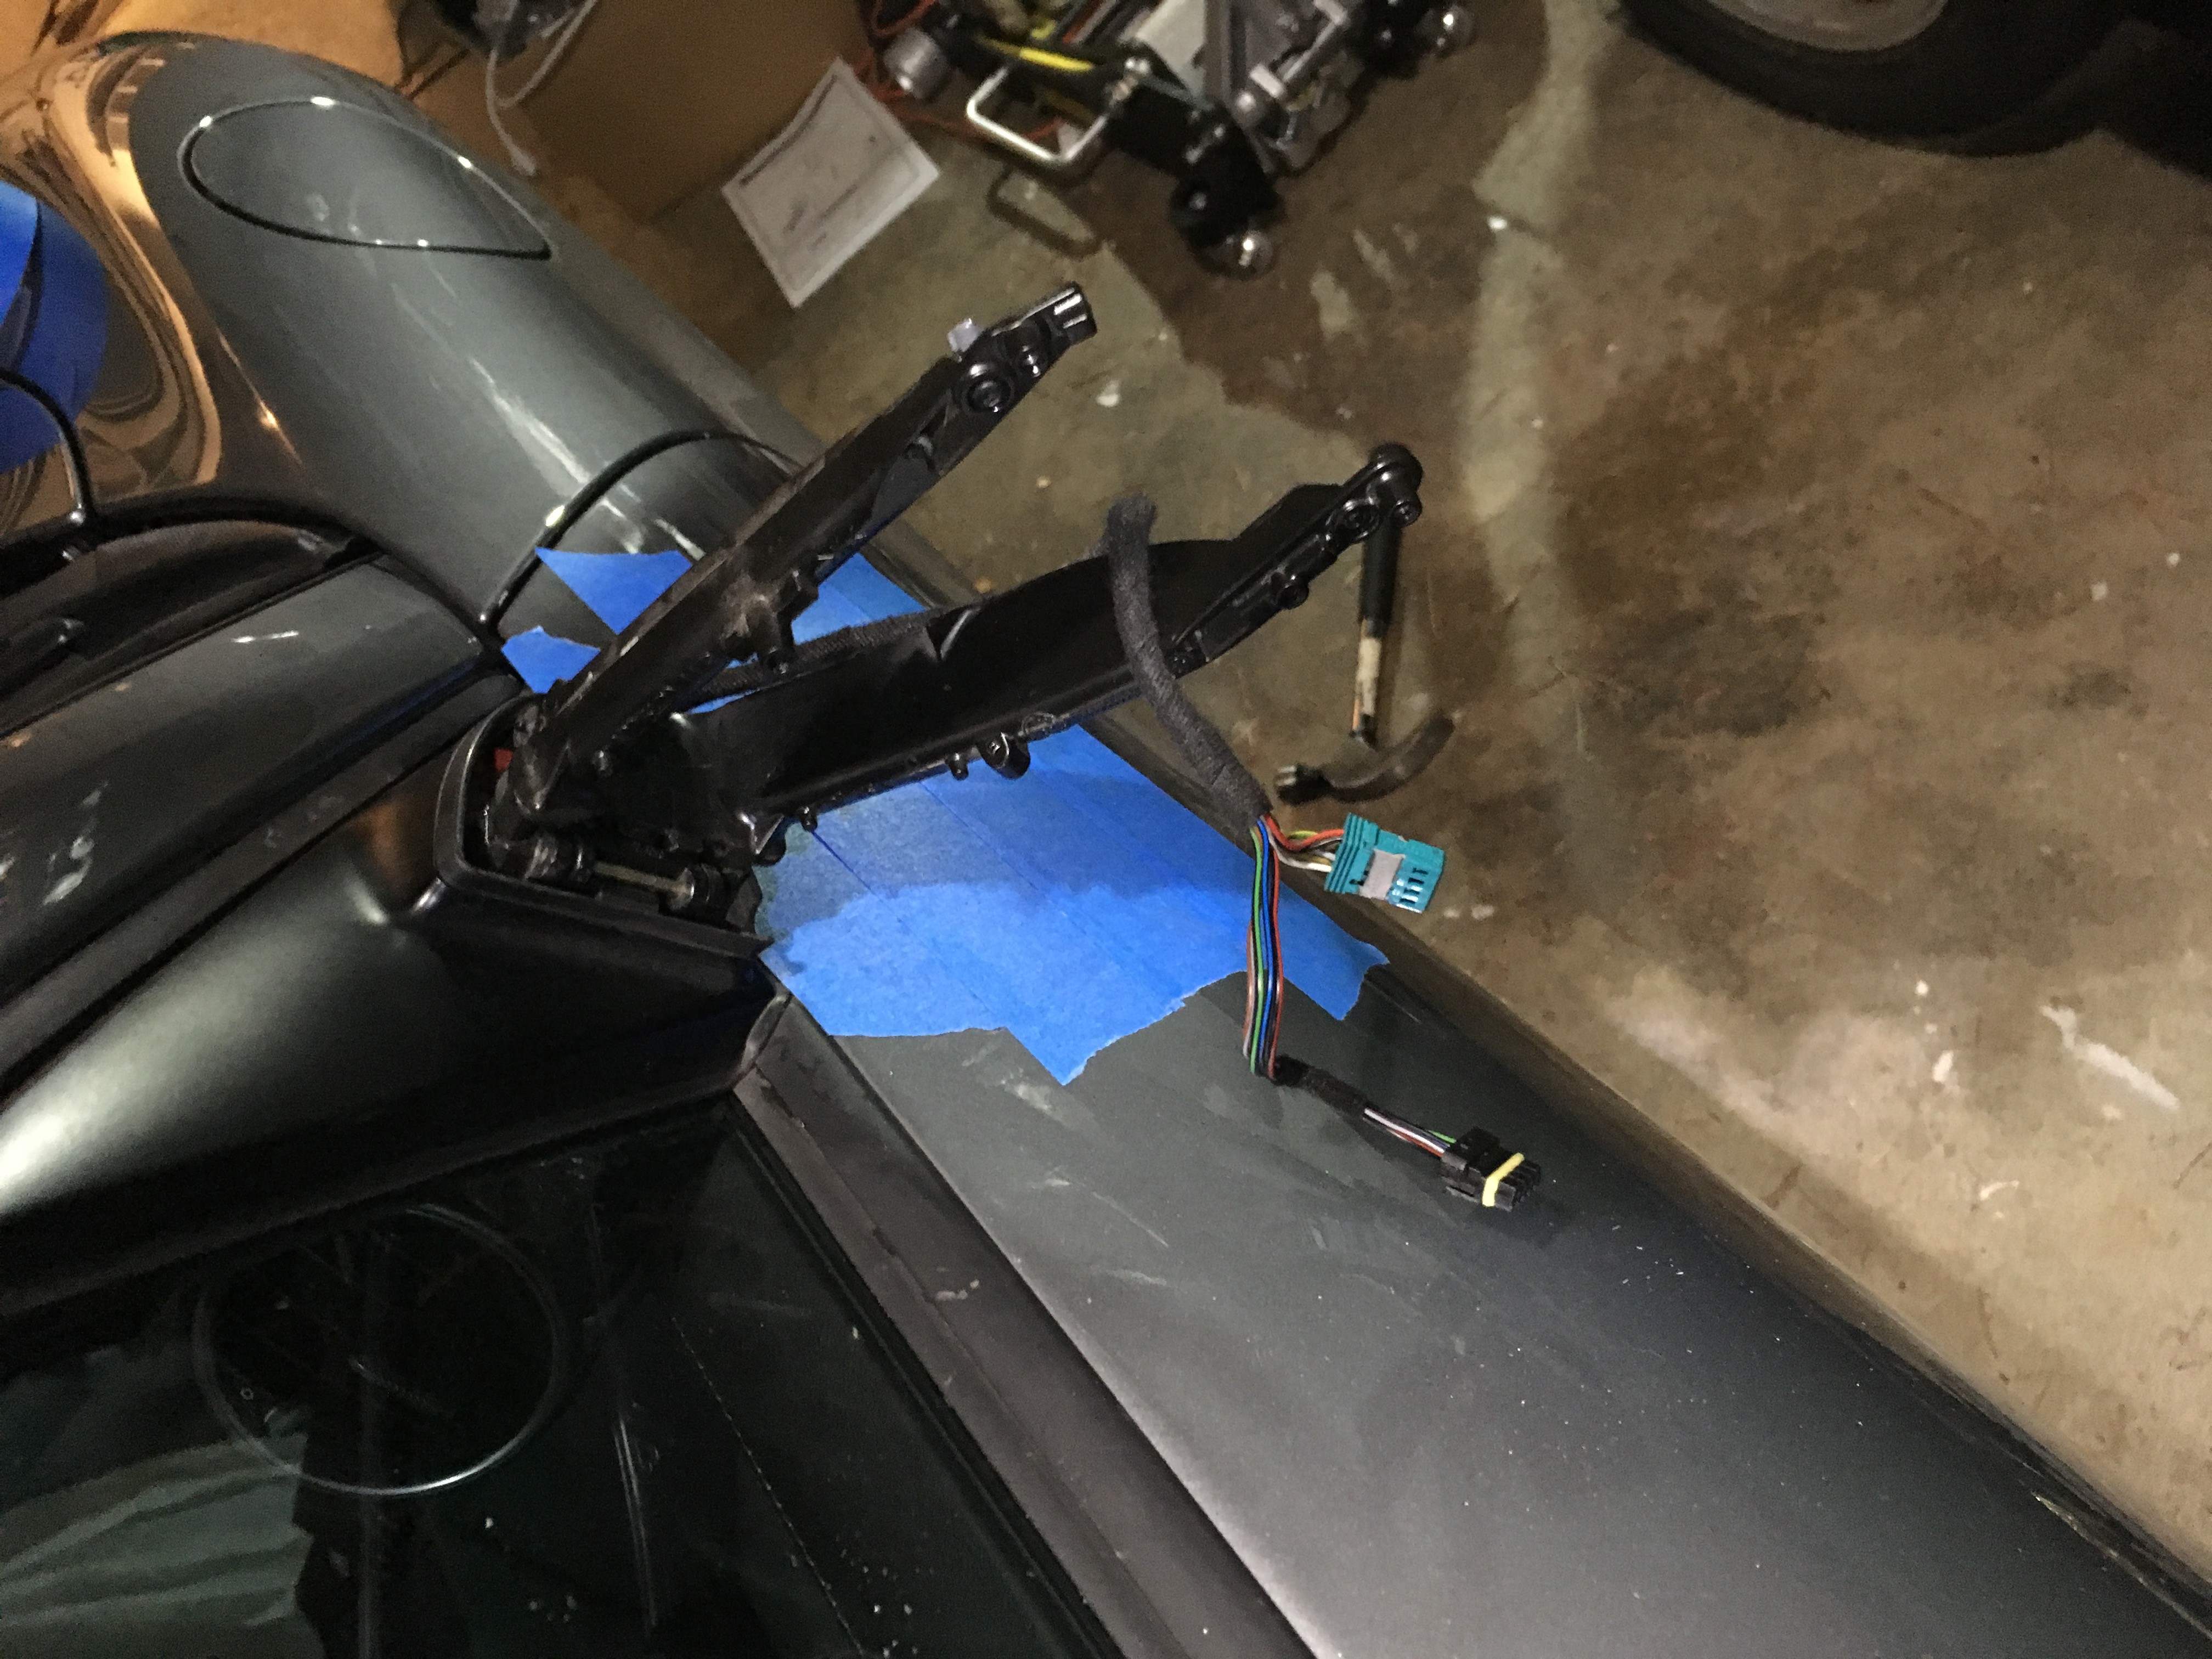
With gloved hands, pull and pop the mirror out of the housing. It takes a bit of careful force, but work it slowly and it should be accomplished without further splintering of glass. Disconnect the two plugs from the back of the mirror and you’ll now have access to the multitude of screws that hold the mirror housing to the assembly. Once these are removed, get under the mirror with a hex key and remove the screw that holds the two halves of the shell together. At this point, the shell should simply separate and be able to be slid off the assembly.
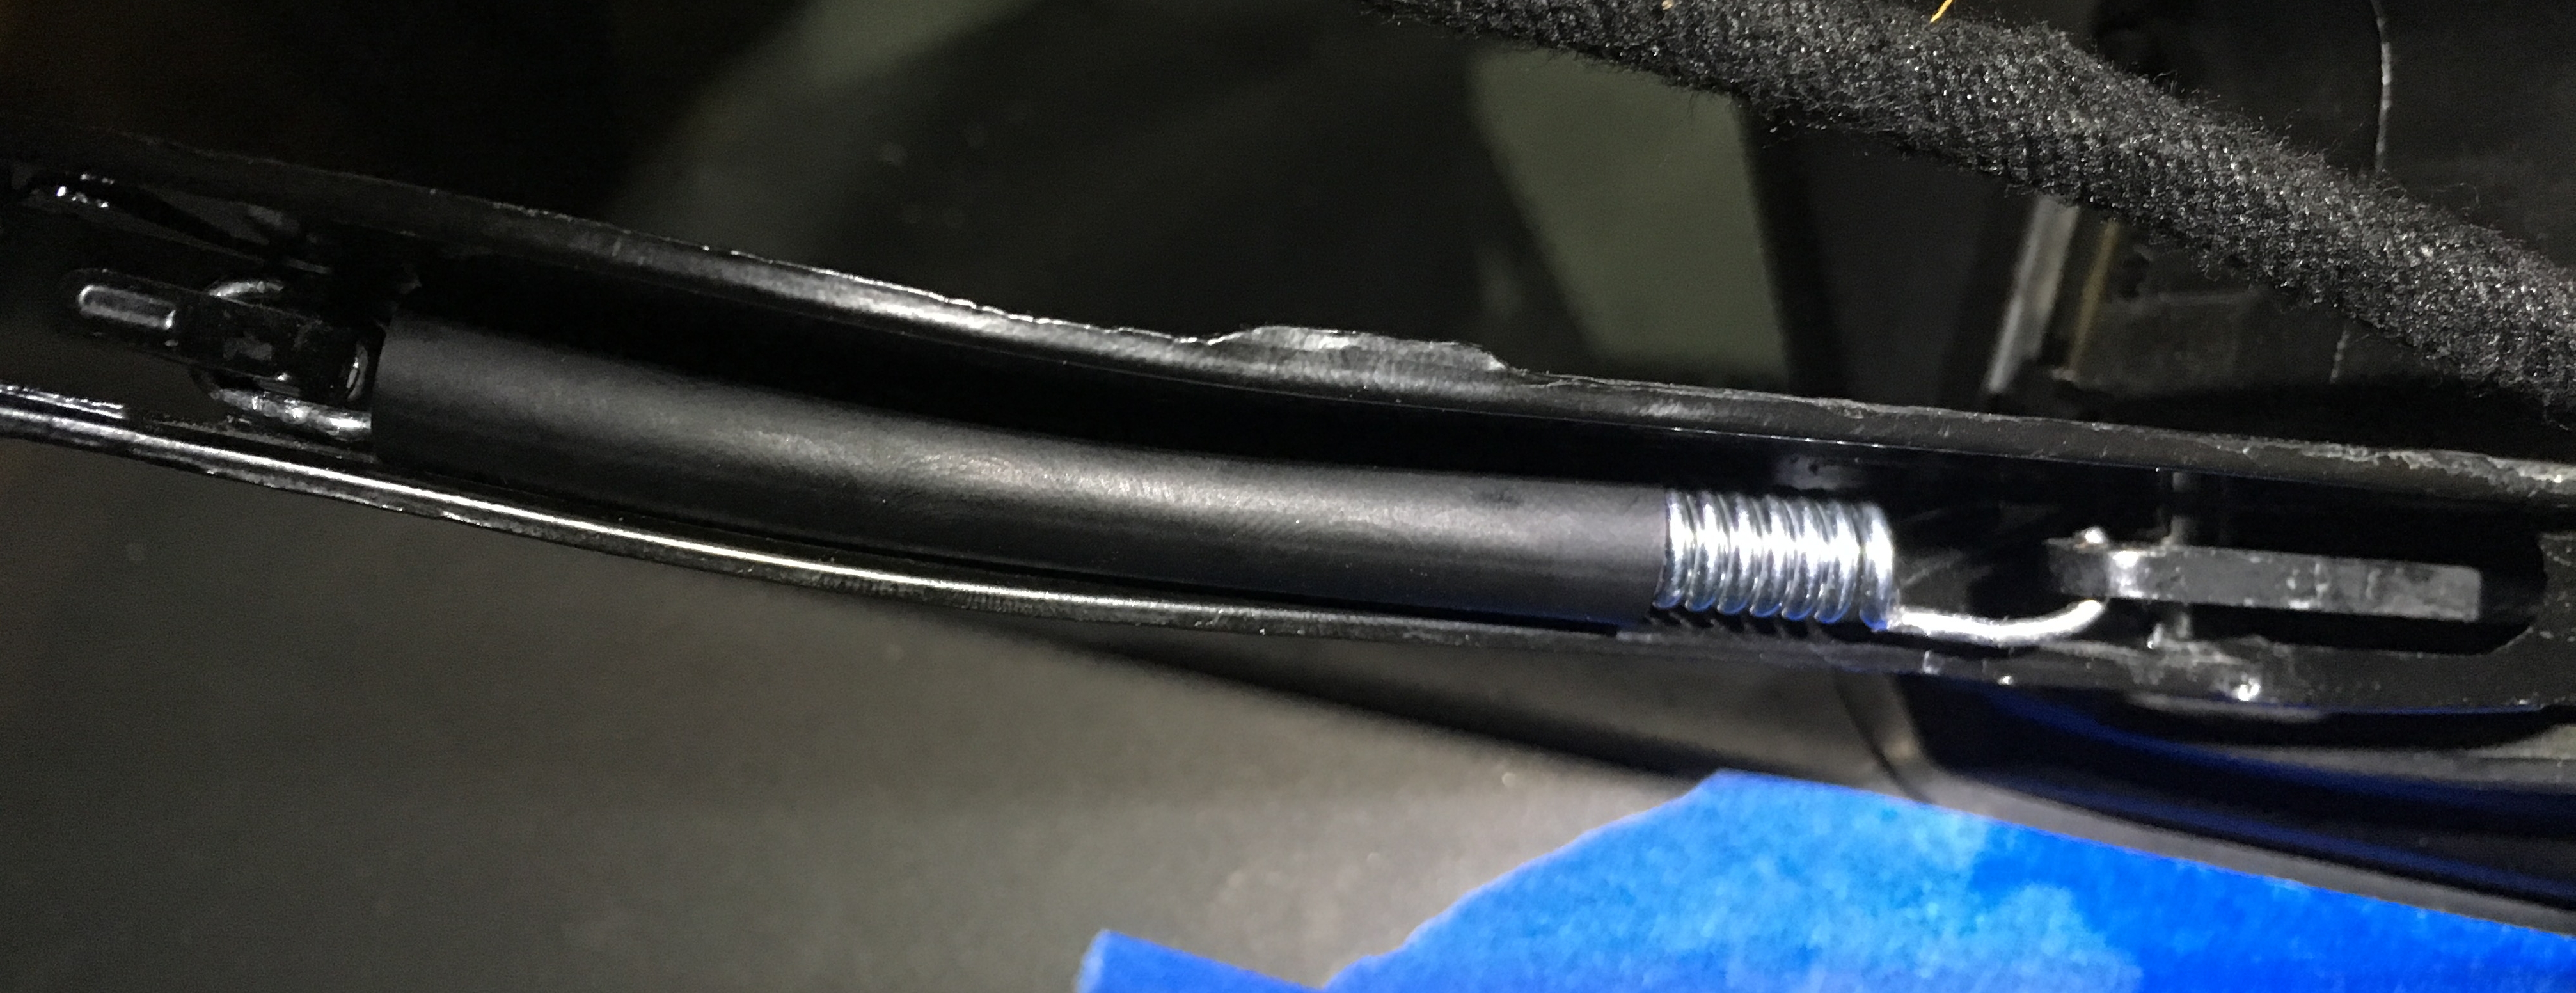
Inspect the hinge assembly. When I did I found that the lower spring had popped off. This explained the slight wobbled in the unit when I was initially inspecting. But I hadn’t been sure whether I was just imagining things until I saw the hinge spring off.
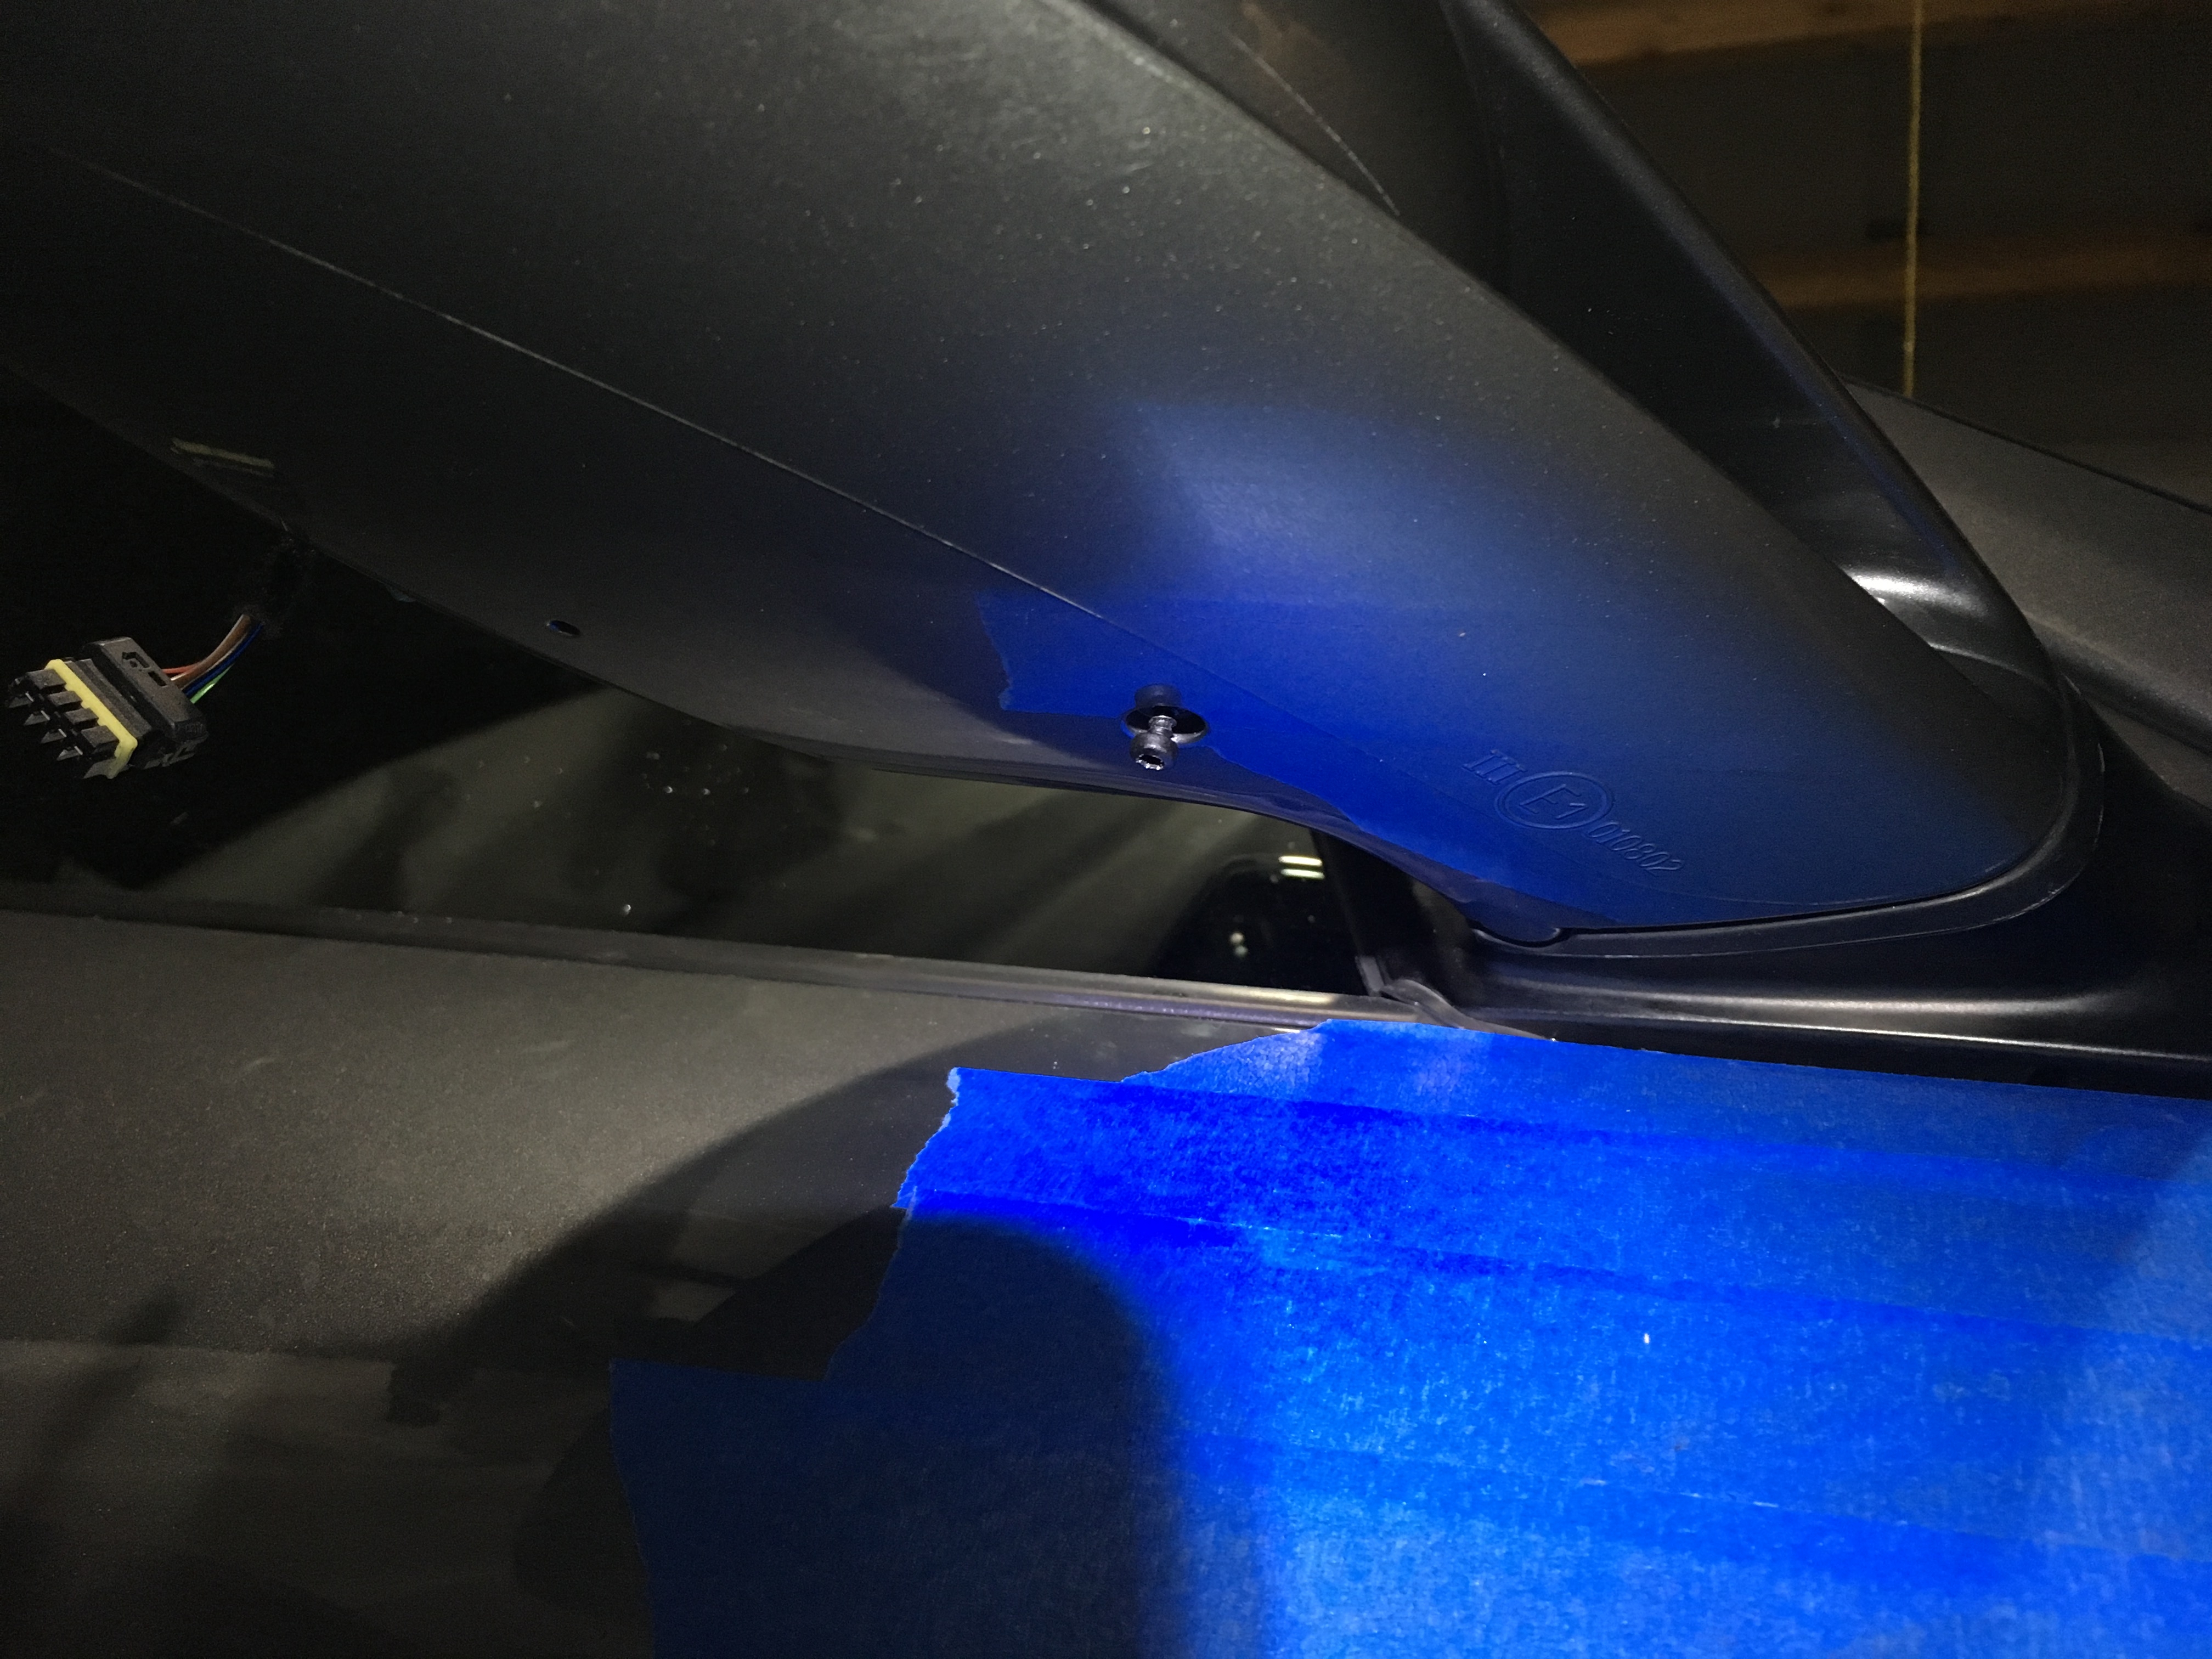
Removing the spring, it could be seen that the hook on one end had become slightly straightened. Putting it in a bench vice, I gave the hook a nice bend. Before attempting to put the spring back in place, though, I taped up the upper curve of the door. I could easily imaging myself slipping and scratching my paint.

Suitably protected, I pulled the spring back in place. It did take a good deal of strength to stretch the spring and get it fully hooked. With this done, though, the assembly sat solidly to the door.
With the spring back in place, the reassembly is the reverse the the disassembly.
With all the pieces back in place, I confirmed that the motors all worked and the presets still aligned. In the end, I did not need any of the additional parts that I received in the mirror assembly, but the piece of mind knowing that I had everything in case I did was worth it. One added bit of fortune came in the fact that my side mirror is now auto-dimming a function I previously only had on the driver’s side mirror.