It’s been several years since Blogger turned
on HTTPS, but only for https://[yourbloghere].blogger.com/ resourced
blogs. It continues to not support HTTPS for custom domain blogs.
While what I post does not need the same level of authorization,
authentication, and crytographic controls as a commerce site, it would
be nice to encrypt everything. There are a number of options and I
initially leaned towards using GitHub.
Unfortunately, it suffers from the same problem for its pages as
blogger- TLS, except for custom domains.
GitLab, while similar to GitHub, does support
HTTPS for custom domains, and uses the same git framework. In the
end, that’s where I’ve gone.
What I ended up going with is the following:
- GitLab pages
- Jekyll
- hpstr Jekyll theme
- a custom domain
- a Let’s Encrypt free SSL certificate
- and a bunch of scripting foo
All scripts and testing were performed from a MacBook Pro running OS X 10.11, but should work from any Linux machine with minimal changes.
Another option that I had not explored for TLS-enabled static hosting with custom domains is Firebase. The Google acquired property relaunched in May 2016. The service appears to primarily be a mobile app development and backend platform, that also provides static page hosting.
Steps for Migration
Pulling a Backup
It’s fairly simple to get your posts out of Blogger. Under Settings > Other
is a Back up Content button. Clicking this will generate
an XML file that will be downloaded by your browser. See this for more details.
Setup Jekyll with hpstr theme
From the theme setup steps:
- Download a zip of the theme.
- Unpack the theme:
$ unzip master.zip cd hpstr-jekyll-theme-master- Install bundler:
$ sudo gem install bundler - Install jekyll:
$ sudo gem install jekyll - Install theme dependencies:
$ bundle install - Edit the
_config.ymlto personalize your site. - Run
$ jekyll serveto locally host the site. You can view in your broswer at http://localhost:4000/
If you have difficulty installing/running Jekyll, you can look here for more help.
Convert from XML to HTML
The Blogger backup will get saved as an XML file named
blog-mm-dd-yyyy.xml. Jekyll has a number of importing tools. In
this case, I used the Blogger
specific gem. You need to
install it by running:
$ sudo gem install jekyll-import
Afterwards you can run the following with requisite local modifications.
$ ruby -rubygems -e 'require "jekyll-import";
    JekyllImport::Importers::Blogger.run({
      "source"                => "/path/to/blog-MM-DD-YYYY.xml",
      "no-blogger-info"       => false, # not to leave blogger-URL info (id and old URL) in the front matter
      "replace-internal-link" => false, # replace internal links using the post_url liquid tag.
    })'
The above converts the monolithic XML file into individual HTML files
stored in a _posts and _drafts directories. At this point you
could copy the contents of _posts to your local Jekyll/hpstr
repository and move on to the steps to get the site on GitLab.
Unfortunately for me the resulting HTML was something of an uneditable
mess. The new pages rendered inconsistently. The content itself
typically ending up a whitespaceless hodgepodge HTML, CSS, and
content.
So, I wrote a script to further munge the HTML and output the result
to more human readable markdown format.
Convert HTML to Markdown
A search for HTML to Markdown scripts and routines brings up a lot of things that go the other direction. But since we’ve already mucked around with enough Ruby, might as well just install the available gem.
$ sudo gem install html2markdown
To convert one file you could run:
$ cat {YourHTMLFile.html} | ruby -e 'require "html2markdown"; puts HTMLPage.new(contents: STDIN.read).markdown' > {destination.md}
That could get tedious quickly. A simple way to cycle through your html files would be to run:
for i in `ls *.html`; do
   fname=`basename $i | sed -e 's/\.html$//'`
   cat ${i} | ruby -e 'require "html2markdown"; puts HTMLPage.new(contents: STDIN.read).markdown' > ${fname}.md
done
Still, this was not satisfactory as the routine seemed to not handle code snippets, HTML pre tags, or images with captions well or at all. I ended up further refining the above snippet to do some minor pre-processing of the HTML and then alterations to the resulting markdown. I took the opportunity to perform one other modification to my pages as well. The script I wrote also downloads all images referenced in the original HTML and updates the img references.
The script, html-reform.sh, is available on my
GitLab repo. Either
download
the zip or clone the repository. You will minimally need to edit
the workDir value to match where your _posts and _drafts directories
ended up after converting your Blogger XML backup.
Once editted, you can run $ ./html-reform.sh and it will process all
the html files in the _posts directory and save the .md files in
_md and downloaded images in images/posts.
The image download process is somewhat space inefficient. In order to avoid naming collisions, the script saves the images as:
[post-name]-[image-name-without-extention][optional counter].[extention]
This gets around the problem of different size versions of the same image or different images with the same name from different URI paths.
After running the script, you can copy your new markdown files and
images to your local Jekyll/hpstr repository. For example, by running the following from your workDir:
$ cp _md/* ../hpstr-jekyll-theme-master/_posts/
$ mkdir -p ../hpstr-jekyll-theme-master/images/posts/
$ cp images/posts/* ../hpstr-jekyll-theme-master/images/posts/
Setup GitLab
For a more thorough look at setting up GitLab pages read the blog post and associated Pages readme.
The basic steps are:
- Create a Project in GitLab names [useraccount].gitlab.io
- Clone the project.
- Copy your local website into the project:
cd [local website directory] && cp -r ./ [cloned project directory]/
- Go to your
[useraccount].gitlabs.iodirectory. - Prepare a
.gitlabs-ci.ymlfile.vi .gitlabs-ci.yml-
With the
hpstrtheme, we load some additional gems beyond basic Jekyll:image: ruby:2.3 pages: script: - gem install json - gem install rouge - gem install jekyll - gem install jekyll-sitemap - gem ainstall jekyll-feed - gem install jekyll-paginate - gem install jekyll-gist - jekyll build -d public artifacts: paths: - public only: - master * _Note:_ The above example does not include bits I used for [Let's Encrypt](https://letsencrypt.org) cert validation. That's a future post.
-
Make sure you have a decent
.gitignore. The contents of mine are:*~ .*.swp .DS_Store _site *.sublime-project *.sublime-workspace codekit-config.json node_modules Gemfile.lock .sass-cache .jekyll-metadata - Add the files to the repo.
git add .git commit -a -m 'initial commit'git push
-
After pushing, you can check on the GitLab Pipeline for your project to what the build.
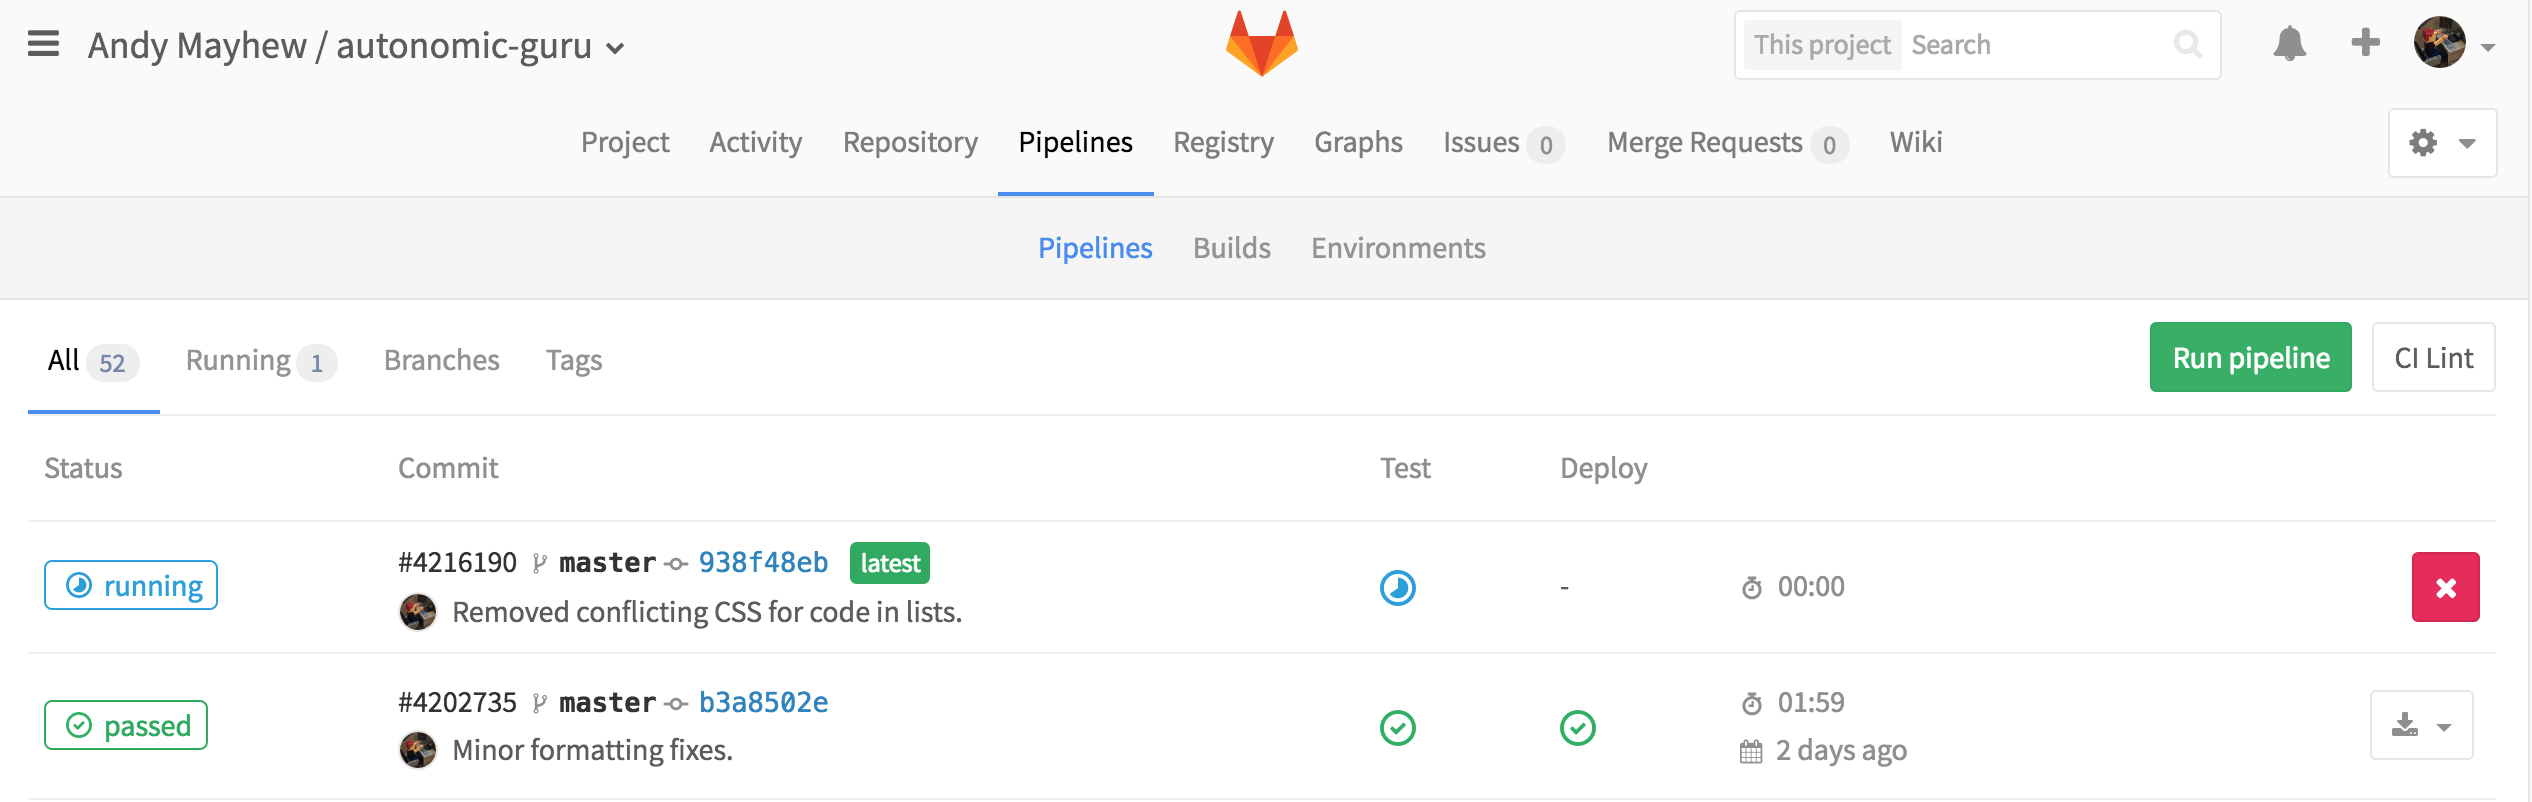
You can always click on the status of the build to get further details, including the output from the CI process, and an error messages if the build failed. I had a couple of occassions seen builds fail because of timeouts pulling the gems.
- Once the Status changes from running to passed you can see you pages at
https://[useraccount].gitlabs.io/
Configure a Custom Domain
The docs here are very good, but there are a couple of things to keep in mind.
- Understand and have control of your DNS.
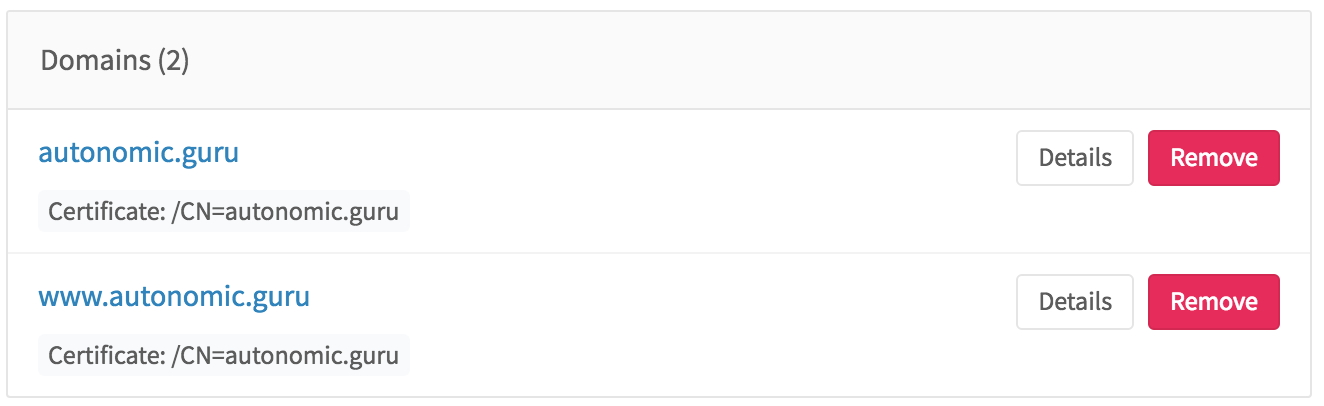
- If you plan on using TLS, then you’ll need your certificates in
.pemformat ready before hand. - You can’t change an existing pages domain, only view details, or remove it. To modify an existing domain, you must remove it from GitLab, then add it back which is a little annoying. Pages Issue: 341
- GitLab does not enforce TLS. My work around is described here.
Summary
At this point you should now have a copy of your content up on GitLab. Managing it is simply a matter of using your favorite text editor (even the GitLab WebUI) and git check-ins.
In a follow-up post, I will describe how I use Let’s Encrypt’s tools to add an TLS/SSL cert for my custom domains. This will touch on the “fun” of running certbot manually, the steps to authenticate ownership of the domain(s), and how I’m automating cert renewal.